

Filter Triage and save a view
Add Filter, then save the view for next time.
-
Press Add Filter at the top of Triage and choose a field: Sender, Sender Domain, Subject, Label, Read Status, Involves a Contact, Assigned To or Mentioned.
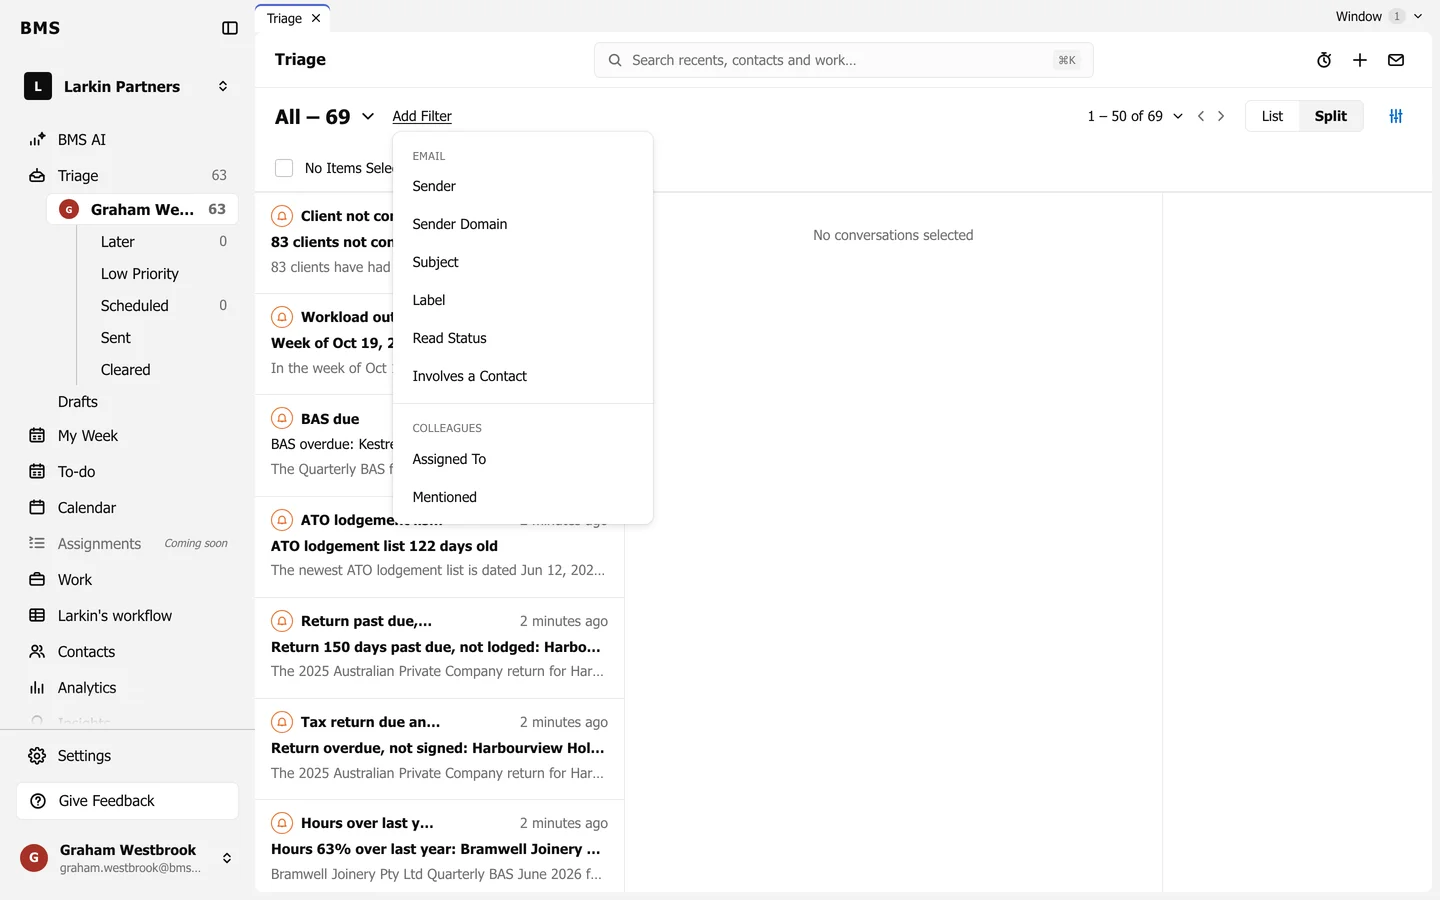
Add Filter's fields. -
Choose how it matches and type or pick the value, then press Apply. The filter shows as a chip beside Add Filter; press its x to remove it.
-
Add more filters if you need them. Different filters must all match; several values in one filter match any of them.
A filtered Triage is a link: copy the address to come back to it, or share it with a colleague.
Save the view
Section titled “Save the view”-
Press the view name at the top left, such as All - 61.
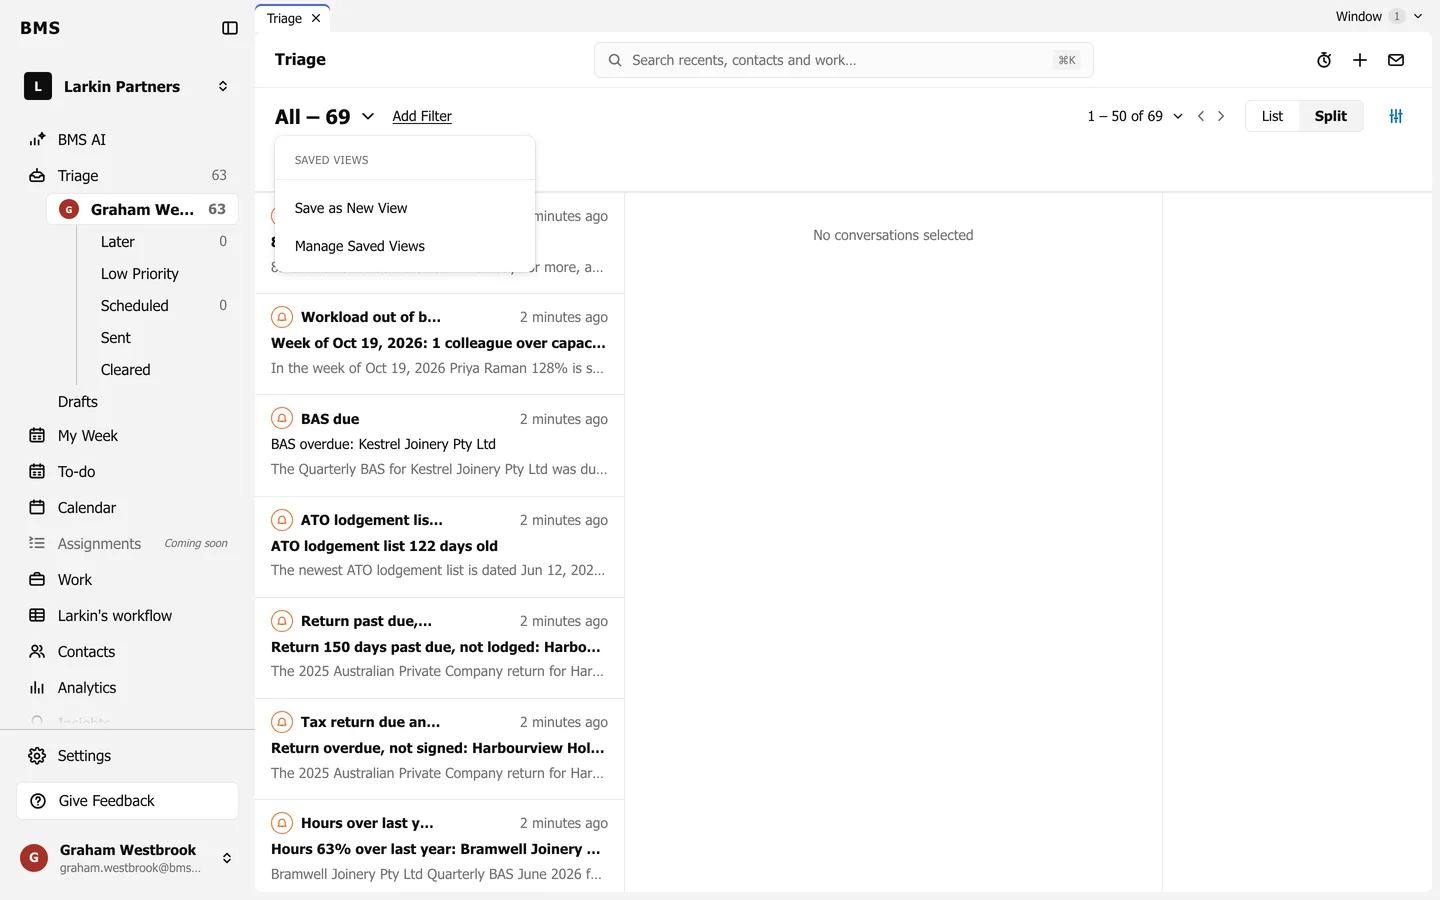
The view menu. -
Choose Save as New View and give it a name. It is listed in this menu from now on.
Manage Saved Views renames, shares or deletes your views. A Restricted User can save views but cannot share them.