

Upload a document
Choose the request item a file belongs to, or send it to the firm without a request.
You can upload from three places: Home, a request, or Documents. Whichever you use, the file arrives at your firm filed against the right job, and your accountant is told.
From Home
Section titled “From Home”-
On Home, press Upload.
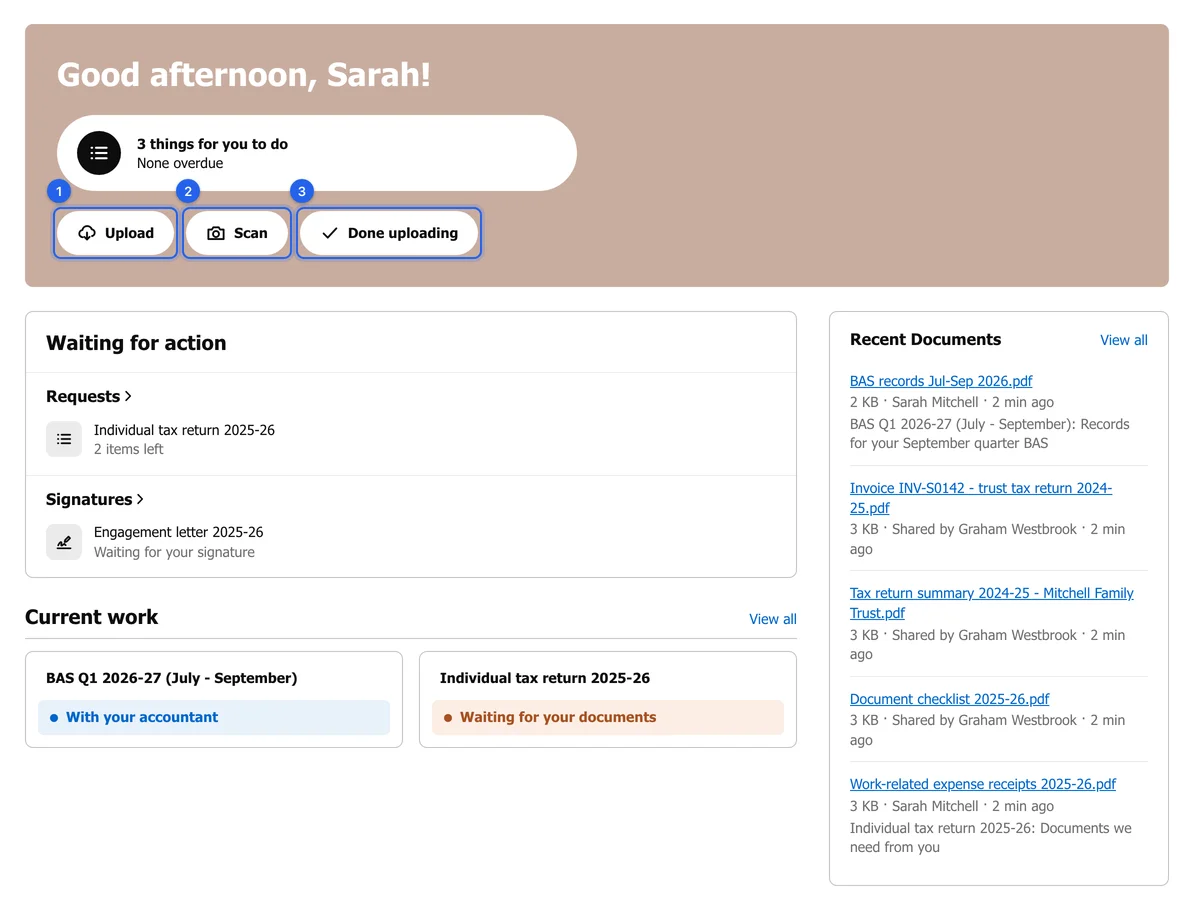
Home's quick actions: Upload (1), Scan (2) and Done uploading (3). -
BMS asks What are you sending? Pick the request item the file is for, or pick Something else to send it to the firm without a request.
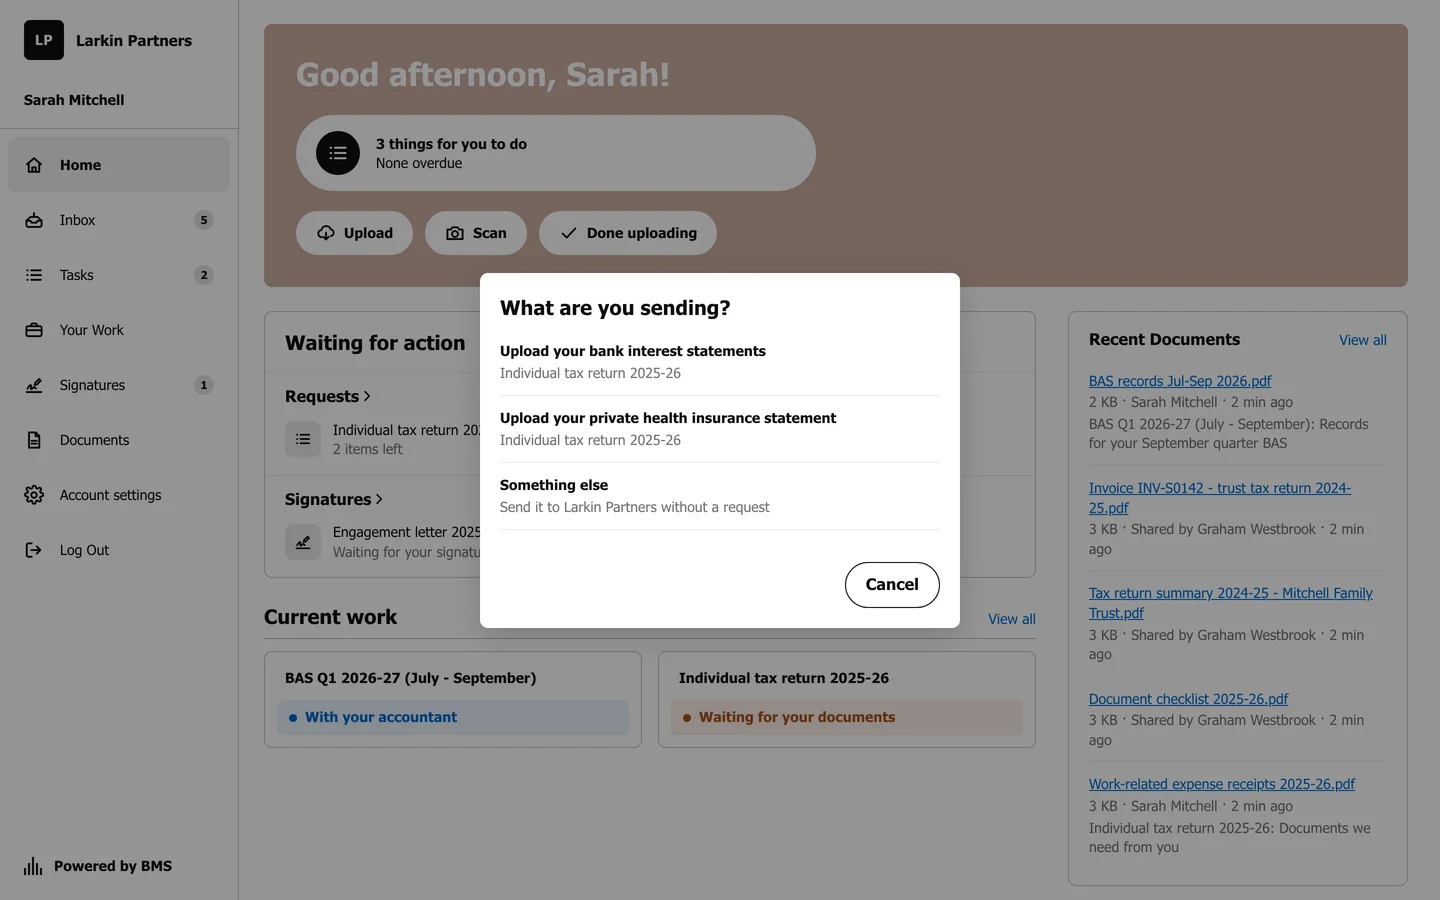
Pick the item the file answers, so it lands in the right place. -
Choose one or more files from your computer or phone. They upload straight away.
From a request item
Section titled “From a request item”-
Open the request from Tasks or from Waiting for action on Home.
-
Under the item you are answering, open its Documents tab (1), then press + Upload (2). On a phone, Take Photo (3) opens the camera instead.
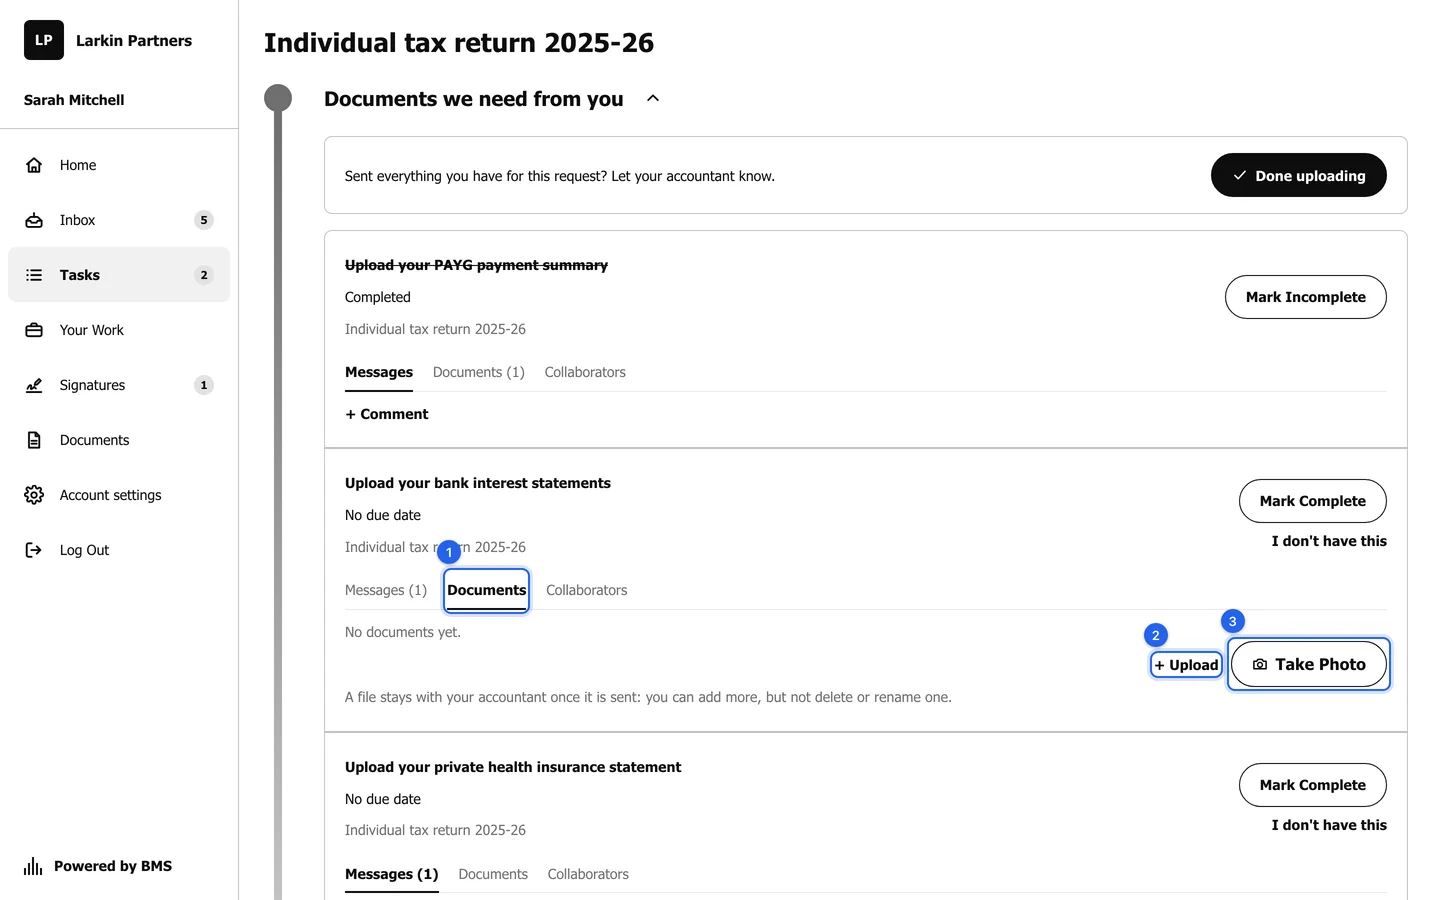
Each item has its own Documents tab, so a file answers exactly one item. -
Choose the files. The tab’s count goes up, and the file is listed under it.