

Set up your firm in BMS: admin checklist
Firm details, colleagues and access, workflow, templates, alerts, tags and the client portal, in order.
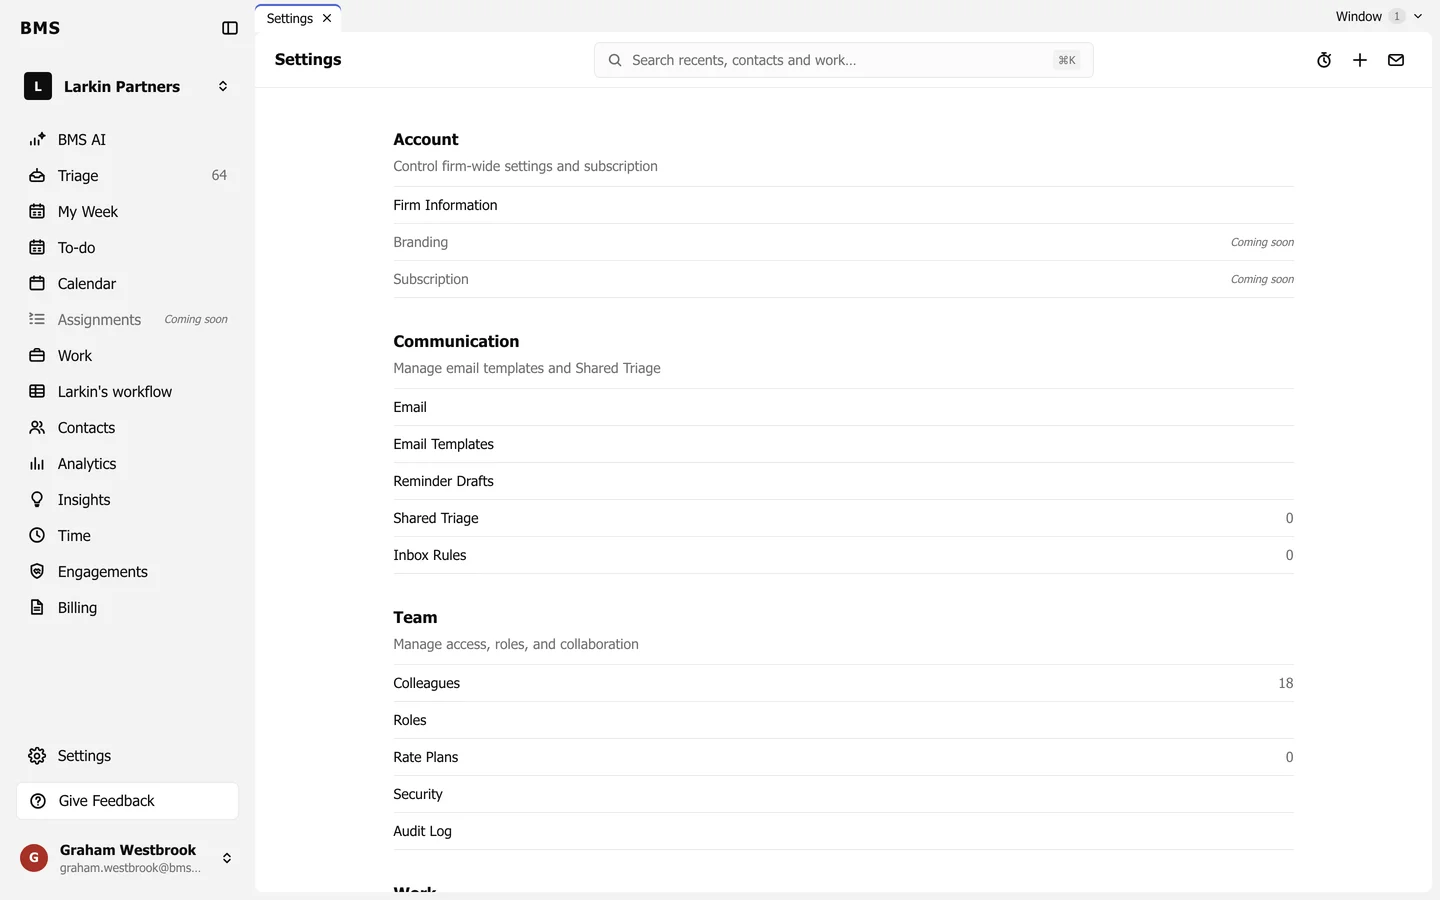
Settings (at the bottom of the sidebar, Admins only) holds every firm-wide setting. Work through it in this order.
-
Account > Firm Information: your firm’s name, address and time zone.
-
Team > Colleagues: press Invite to add each colleague with their access level and a first password, which you pass on to them. Then set access and permissions; see Who can see what. Also Roles, Rate Plans and Security (two-step sign-in, single sign-on).
-
Communication > Email: connect mailboxes, then Email Templates and Shared Triage.
-
Work > Workflow: your job statuses, then Time and Budgets, Timesheet Settings, Work Templates, Alerts and Job Status Automation.
-
Contacts > Tags, Custom Fields and Contact Customization.
-
Client Experience > BMS for Clients: turn on the portal and brand it.
-
Integrations and Tools: connected apps, API applications and MYOB AE.